Category Archives: customization

9 Years of Blogging

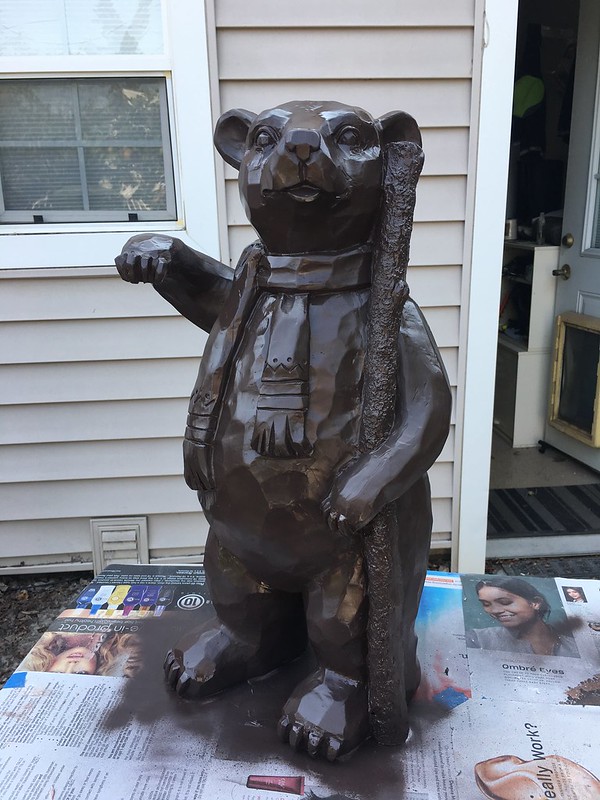
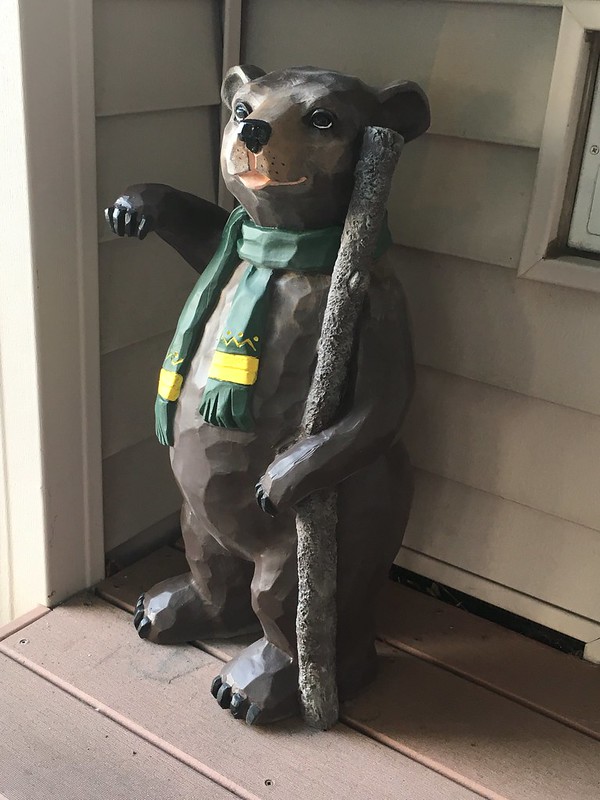
Wow! 9 years to the day. It all started because I had a lot of toys and I wanted to talk about them. Back then I was just taking pictures with the poor light of the little room I was in. Over time I built a shed into a hobby room. I started to get more serious about my collecting, and focused on my choices.

Most recently I took a hiatus from the blog, not the collecting. My sister, who was dealing with some mental issues came out to live with me at the same time I was getting ready to move 300 miles North. Uproot my whole life and start a new one. New job, new house, new everything.

I was fortunate to move into a house that has a strange room downstairs that is kinds of like a living room. Well it became my new hobby room. Unfortunately, it is also the main thoroughfare to get from the inside of the house to the outside, so there are people and a dog wandering through all of the time.

Lots of life happened all at once and it was quite overwhelming. But I have come out the other side, seemingly more prepared to continue on with life, and ready to really get this blog back on track. Over the 9 years, I have posted 820 posts. Everything from Transformers to Minimates, Legos to Hot Wheels. And everything in between. I still love toys, the fun and the engineering of it all. I look forward to the future and all that comes with it.

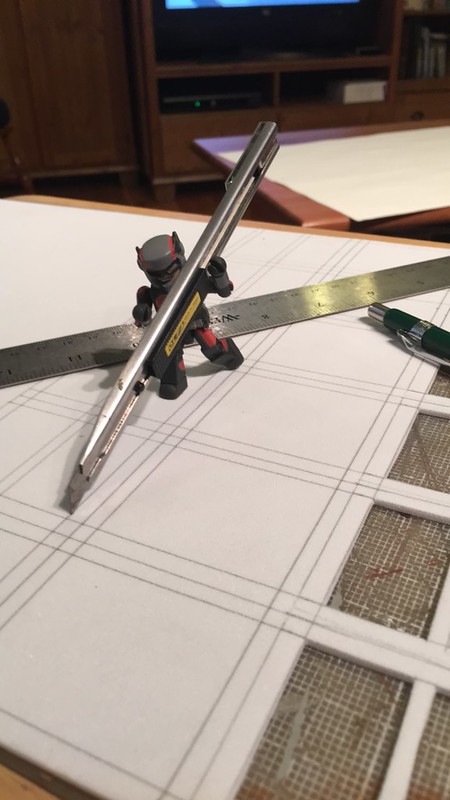
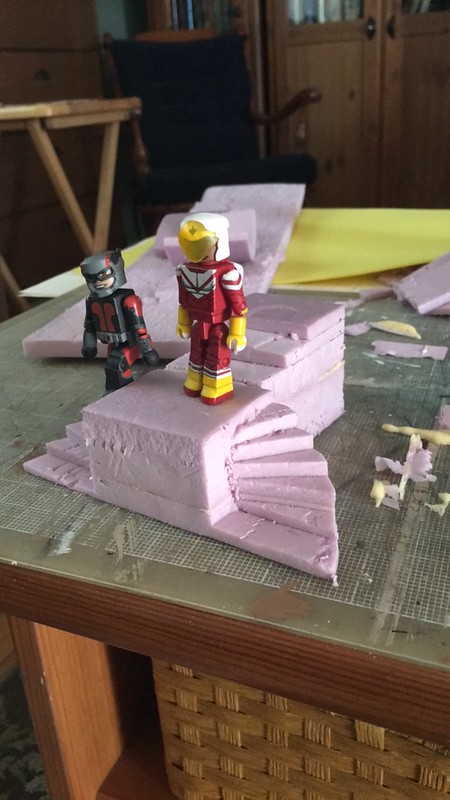
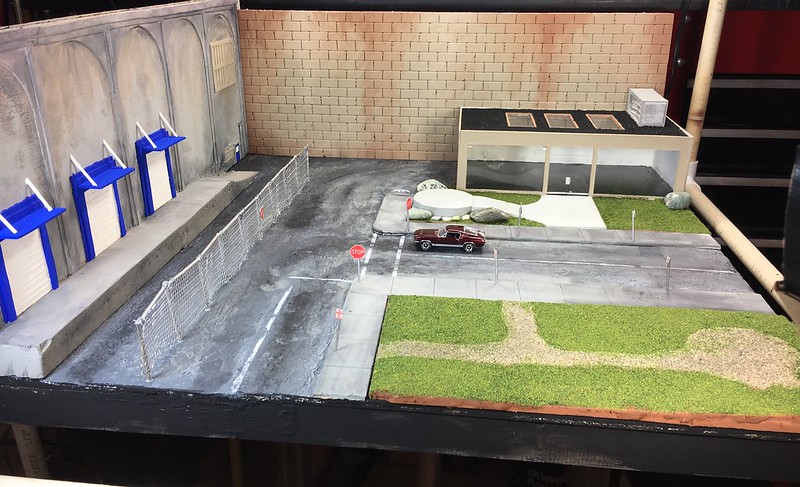
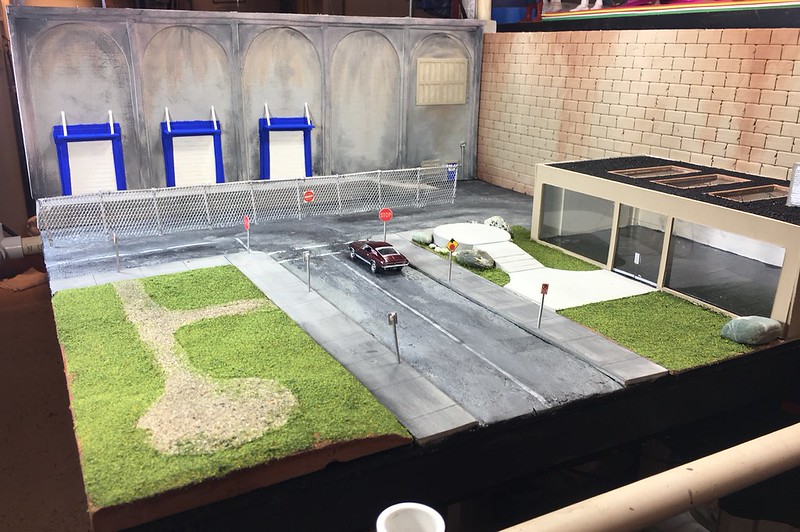
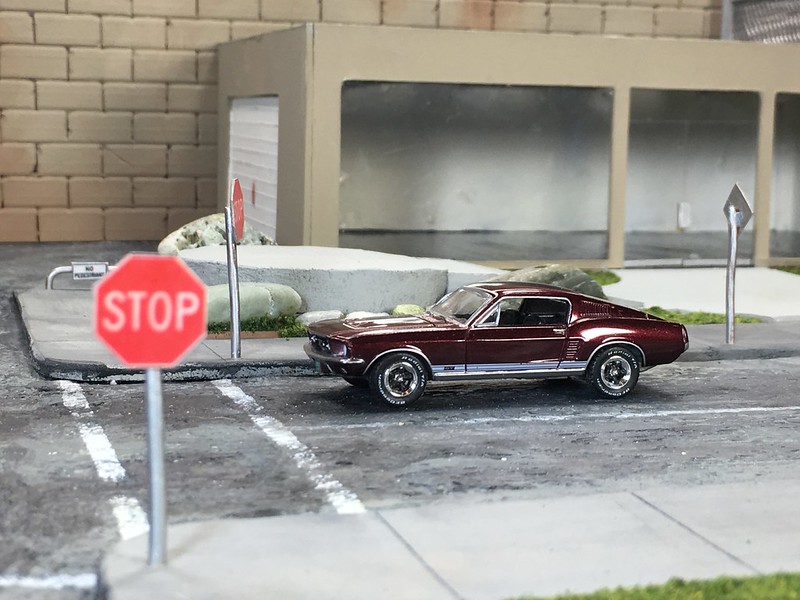
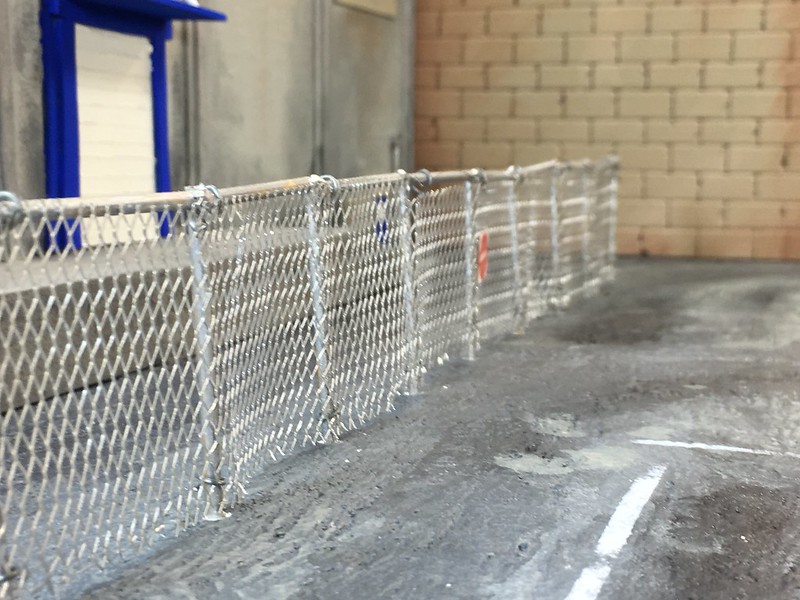
Currently I am in the middle of a new building project that I want to post more about. It is a HUGE 2 foot cube diorama of a factory set for Minimate scale, about 1/35.

That is a 21 inch T-Rex on the bottom level. This thing is huge.

From my time of making dioramas I have found that the 1/35 scale is really great for many different toys. Minimates, LEGO and Transformers all fit in well in this scale. So I figured if I am going to go for a new diorama that will cover a lot of different aspects of toy collecting, I might as well go for broke and do it up right.

I am very excited for what the future holds. As I get rolling on the restart of the blog posting, I have the new Transformers: War for Cybertron: Siege Deluxe figures to take a look at. And we will go back and revisit all of wave 1 as we go along to catch up. I look forward to what is to come.


New Diorama in a new scale

A few nights ago it was window frame building night. Lots of windows in those old brownstones. My MiniMate diorama has begun.

I have been working this time to create a more multi-dimensional diorama for my figures. Since I am making this one for MiniMates, a lot of the pieces are smaller than I have been building in the 6 inch scale. Since I started the window frames, I have moved onto the stairs. I wanted this particular house to have a set of curved stairs to a landing and then a second set of stairs up to the front door. I think it is a cool architectural touch, and a potential for some fun photography in the future…if I ever get this thing built. I have since added the side railing, which is drying in the garage.


Front Porch Bear

Last Friday night, my wife and I went out to dinner. We don’t go out much on any weekdays since we are so tired from work all of the time. But it was Friday night. When we got home, our polar bear that has been on our porch for nearly a decade was destroyed. Well, destroyed is a strong word, but someone had smashed it on the porch, breaking off a leg, fingers and toes.

I had just been talking to my wife this summer about repainting the bear, since it had been sun bleached, and the colors were mostly gone from him as it was. And when we would touch him, white paint would be left on our fingers.

So this was the perfect opportunity. Saturday morning I glued him back together. One problem. He was missing the tail. He had a big hole in his butt. What is going on here? I went out and looked all over the ground in front of our porch to see if it had flown off into the yard somewhere. No luck. I haven’t been building dioramas for nothing. I knew I had some skills in my back pocket I could use. I went down to Lowe’s, got me some bondo, and filled all of the cracks, missing fingers, and the tail.

By Sunday, he was dry and ready to paint. I had some outdoor paint leftover from a previous project, and it was the perfect color for this guy. All coated, he really started to look more like a grizzly bear.

The tail looked like it has always been there, which was the part I was the most worried about the whole time.

On Monday evening, after I got home from work, I added more colors to add depth to the fur. I repainted the scarf with colors of my college, Humboldt State University.

Yesterday he was ready to be clear-coated with a nice flat coat. I added some Super Gloss Mod Podge for the nose, eyes, and mouth, to give a bit of shine. And now he is back on the porch, looking better than ever, less than a week after he was smashed.


1/64 scale diorama complete

A long time in the making. I have 2 dioramas for 6 inch figures, and one more for Transformers. What I was missing was something in the 1/64 scale range to take proper pictures of diecast cars. The work is over. Time for photo fun.

The diorama is set on two walls. The left wall is a receiving dock for a warehouse. The idea behind this was to have a place that looked industrial with lots of concrete. I made to dock wide enough for a standard 1/64 scale vehicle for when a chase scene happens. I added a fence in the front for some texture to the pictures.

The back wall is a large block wall. It is intentionally a different material than the warehouse wall so the two buildings look like they are together but not the same building. I wanted to be able to add different textures to this wall, and a different color scheme.

Down in front of the block wall is a new car dealership. There are skylights on the removable roof, as well as big front windows to display the cars. There is a concrete display in the front to show off the newest delivery. I am planning to add a sign for the dealership. I am working on a way to make the sign changeable, so I can create different looks depending on what cars are on display in the showroom.

Enjoy some behind the scenes looks of the building process, and how it all came to be, from the initial drawing all the way to the final product. There were a few changes from the initial drawing, but much of it has stayed the same.

design drawing with scale for roads.

Trying to figure out the size for the loading dock. I used pink insulation foam for the big walls.

The road was made with plaster of paris to give a used look. There is a new car dealership, but it is in an old industrial part of town.

The road is painted and the sidewalks are being made. I used pressboard for the sidewalks. It was hard to find a material that was tall enough to be a curb.

The warehouse is getting some art deco style design work to make that massive wall more interesting. I used sheets of soft art foam for the details. Once in place, it all got a coat of Modge Podge to make sure it was nice and strong.

Next up were the warehouse doors. I also added windows and a door to the far right side. The back wall has the blocks scribed into the foam.

The back wall is painted. The floor of the car dealership is cut and glued from illustration board, which is what 95% of the finished car dealership was made from. In the foreground, I carved some foam into a small rise to add some height to the scene. It does not interfere with the angles for taking pictures. Road signs have been made and added too.

The walls of the car dealership are drawn and cut to size on illustration board. From there it was adding the million details and paint to get this store ready to open.


Tree Diorama for 1/6 scale

The 1/6 scale is my favorite to build in. I love the 1/12 scale figures, like Marvel Legends and Star Wars The Black Series, but there is something about working in this larger scale that allows for some finer details, and the ability to play really big.

One of the biggest problems with this scale is of course the size of whatever it is you are building. In this case I had it in my mind to build a chair swing. And the only way I wanted to see that swing was hanging from a tree. Now that posed a few problems since trees are big. That is of course the first problem revisited. Second is that a tree has to be rather robust to hold a swing with someone swinging in it.

The answer came to me as an old piece of PVC sewer pipe I have had laying around for the last 12 years, after I finished remodeling my house and ended up with a bit of extra pipe.

So, now I had the width of the tree. To remedy the height, I figured I would have it broken like it had been struck by lightning. Then I have a display that has an interesting story, it is not too gigantic, and it will still be big enough for the larger 1/6 scale figures.

The material I used is Rigid Wrap. I ordered a 5 pound roll from Amazon made by Activia. The directions were printed on the box. Cut, wet, and stick. That was about it. From there I began to experiment and see what I could do for things like texture, roots and old branches that have been broken off.

I did have one setback when I was building the long branch. I had originally cut a hole in the trunk and stuck the smaller piece of PVC in the hole. I glued it with hot glue. It held well until I started to add the Rigid Wrap. The Rigid Wrap added a lot of extra weight, and started to pull the branch down. I added wire that went around the bottom of the branch and then attached back into the truck. I also added a wood brace under the branch. This was all covered with many layers of Rigid Wrap that covered up the stuff that didn’t belong as well as created a strong cast.

For the broken top, I cut the PVC with a cutting wheel. The triangular pieces that were cut off were added to the top and glued into place to add different heights to the top and gave it a more natural look.

For the leaves, I knew it was going to be tricky to find something that was going to be in scale. It turned out to be really easy. I was in Michael’s and they have a plastic plant display area in the store. A giant bunch of branches with the proper size leaves were $14.99. I happened in at the 50% off sale, so the price was much more reasonable at half. I was not sure I was going to need the whole bunch, but I ended up using it all. The smaller twigs came off with a pull, and I attached them to the tree with bamboo skewers I held in place with more Rigid Wrap cut much smaller. The twigs with leaves were glued in place with hot glue.

Once I got all of that done, it was on to the painting. I started dark and worked my way lighter, creating layers, more in some areas and less in others. I painted from the trunk out, making sure to cover all of the twigs most of the way out to the leaves.

This was a great project for me to tackle. It was something new. I had never worked with Rigid Wrap before, and I love it. I have a few more ideas in mind for other scenery pieces I want to make for some other scales. If I remove the swing, it can be a larger tree for smaller scale figures as well.

Up next, I am working on a car. Barbie’s cars are mostly bright pink, and not anything like what most people would chose to buy. I am working on a much darker but still quite flashy color that should make any of the drivers happy to take the little sports car for a spin.