Category Archives: Hot Wheels

Hot Wheels motorcycles for MiniMates

I wanted to see if there were Hot Wheels vehicles that would fit in with the scale of MiniMates. Of course, the only vehicles that had a chance of working were the motorcycles vehicles. Since Hot Wheels are made based on size in the packaging rather than actual 1:64 scale, the smaller the vehicle, the bigger the scale when being made into Hot Wheels.

First off, Nova is riding the Honda Monkey Z50. A strange bike to be sure. It is a goofy bike, so it looks okay being on the small size. The really nice thing about this bike is that it has flat tires, so it can stand on it’s own. This bike can easily be a background piece to a diorama, and it would fit in just fine.

Captain Marvel is riding the 4 Wheeler. This one I was pretty sure was going to be too small, but it was part of a Parks Department set I had, so I figured I would give it a try. It is too small. She can ride it okay, but quad bikes are generally a whole lot bigger than this. Definitely a kid’s size for the MiniMate scale.

The UNSC Gungoose from HALO was really the bike that got me thinking about Hot Wheels vehicles working in this scale. The seat seemed narrow enough to fit the sitting pose of the MiniMates, and it seemed to be quite big. It is a whole lot bigger than the 4 Wheeler, and it’s bulk is helped by the rubber wheels. Silver Sable is sitting on the back for cover. It actually works quite well. It is another vehicle that looks good sitting as a prop piece.

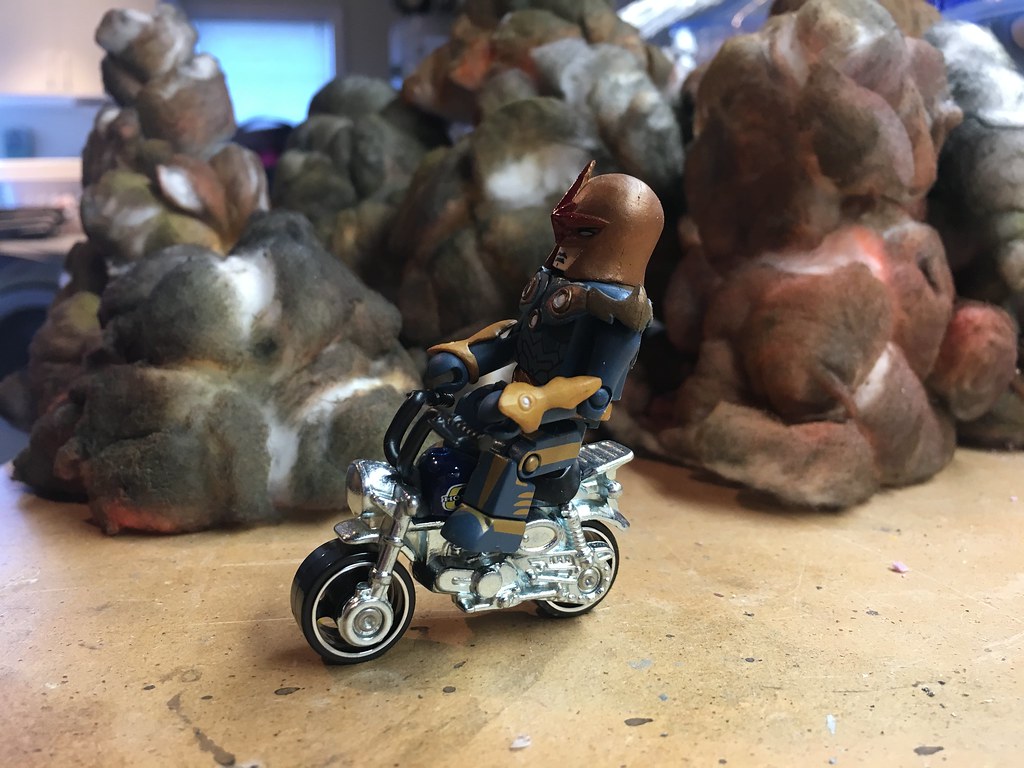
Luke Cage is riding the HW450F. This dirt bike is about as perfect a scale match as you will find with the MiniMates. The only problem is that it cannot stand on it’s own. You will need to find a way to assist the stance. A wire behind would probably do the trick.

This was a fun experiment. The dirt bike (HW450F) works the best for scale, and at only $1.00 a piece, you can outfit a whole squad for not much money. A bit of paint, and you are good to go.

The UNSC Gungoose is a good choice too. They are a bit on the pricey side, since they are a part of the Entertainment series with metal parts are real rubber wheels. I would not expect to see a whole bunch of versions of this vehicle to come out. But the machine guns on the front, and seating for two make for a story all their own.

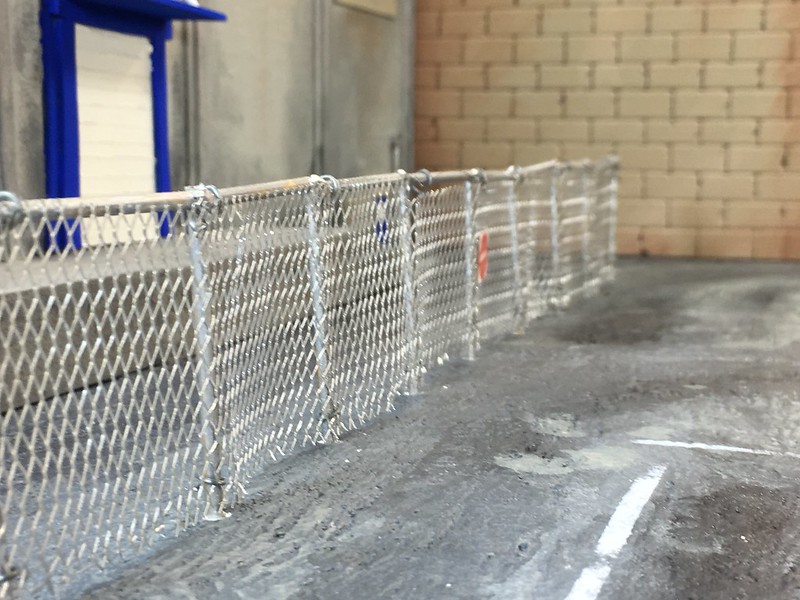
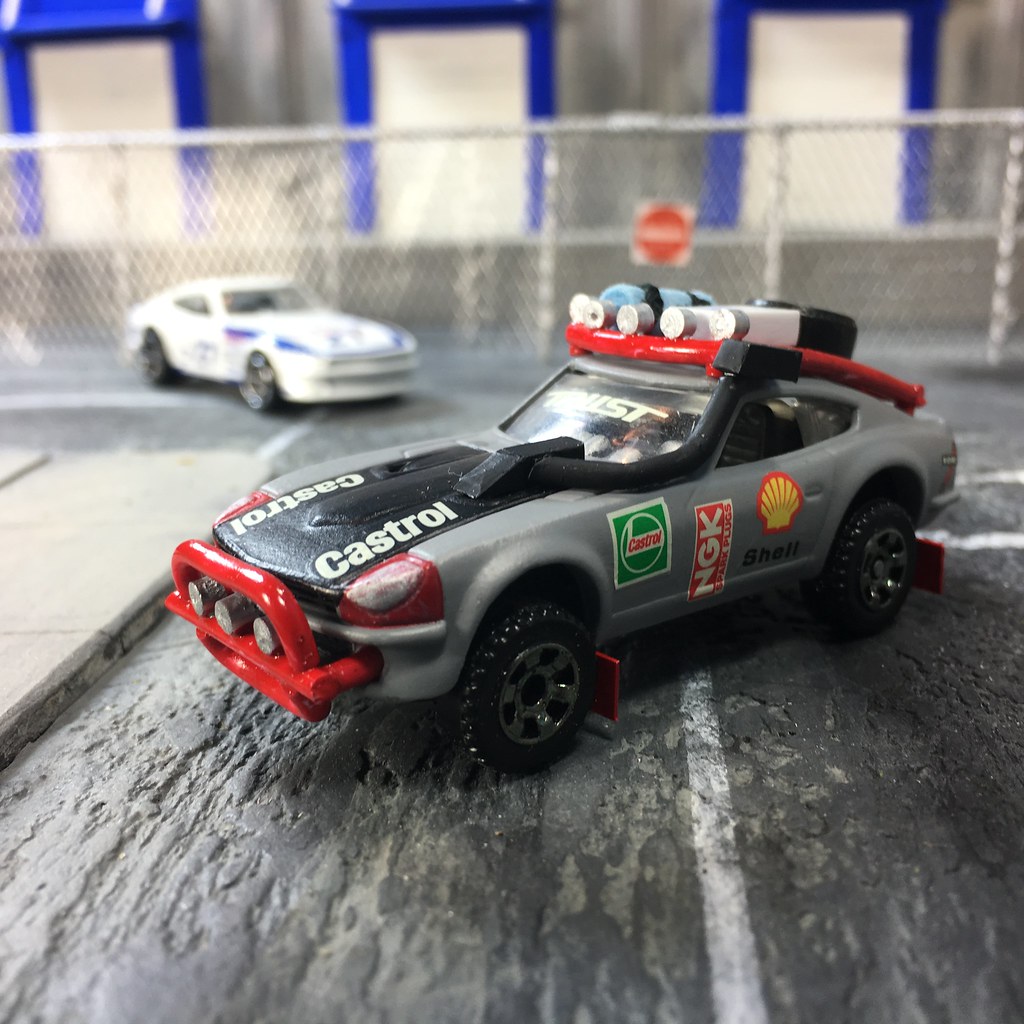
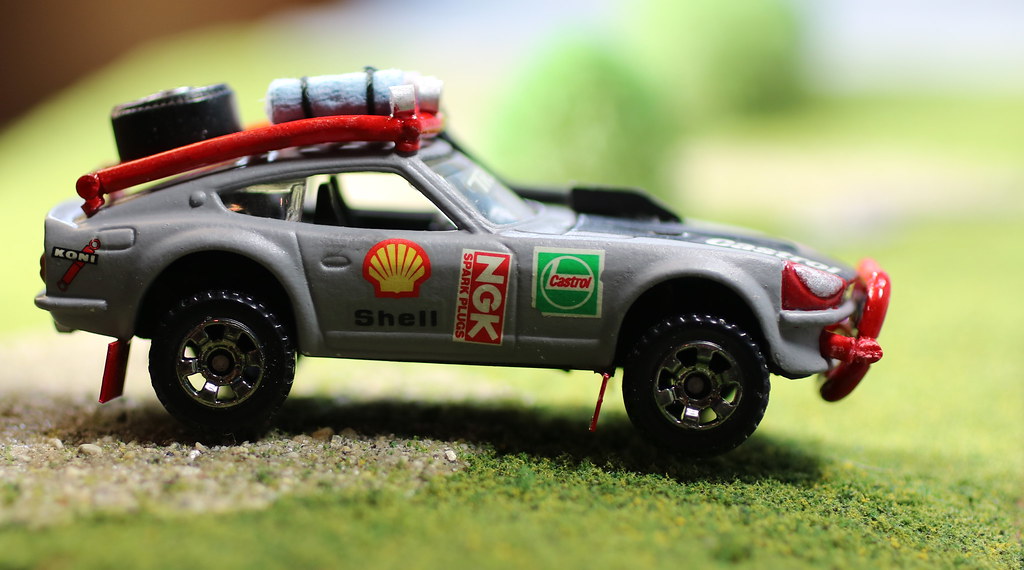
The hunt will continue for the best accessories to find to make dioramas even more dynamic.


Custom Hot Wheels Datsun 240Z Rally Car

Original on the left, and custom on the right.

This was SO fun to build. I have had the Datsun cleaned of paint and drilled apart for a few years. I knew I wanted to do something with a Datsun 240Z, but I didn’t know what I wanted to do. Then a few weeks ago, I started to get an image of a rally car I wanted to make. I pulled out this car, ready to be modified, and got to work.

For the wheels, I knew that the low-profile Hot Wheels wheels would not do the trick of making a rally car. So I was on the lookout for some off-road wheels. They could not be too extreme. Rally cars are made to drive fast in the dirt, so big ol’ truck tires would not cut it. I had a set of Brush Fire truck tires from a Matchbox truck that looked just about right. The problem was, they were about a millimeter too big around. And when you are working in 1:64 scale, 1 tiny millimeter can be WAY off. The tires were impossible to stuff under the front wheel openings, and definitely wouldn’t look right if the car was jacked up to a height that would accommodate the bigger tires.

I finally found my tires in the form of a Matchbox off-road vehicle called the Four by Force. It has the treaded off-road tires that we find on a lot of Matchbox cars, but they were slightly smaller around. They were perfect. They fit great in the backs, and in the front, I had to do only a little modification at the front edges of the wheel arches.


I used brass tube to hold the axles. I cut a groove in the chassis to get the tube up higher. It allowed a bit too much ground clearance with the tube glued right to the chassis. In the end, the axles were dropped about two millimeters, and I added a bigger tire, and that gave the higher ground clearance.

Then it was time for lights and bars. The classic Rally cars of old had racks on the roof, where they mounted lights, a spare tire, and tool boxes. I knew with this classic car, that was the way I wanted to go. I used styrene tube for the front brush guard as well as the edges of the roof rack. I used a smaller diameter styrene bar to make the lights. The interior of the roof rack is thin sheet styrene cut to fit. Straight rows across the roof, and a bit of more styling design on the back to attach the spare tire as well as make it look a bit stronger.

I also went ahead and made a snorkel, since I think they are awesome looking, and it gives the Datsun and even more off-road look.

It was time for paint. I didn’t want anything fancy this time around. I wanted something a bit more utilitarian. So I went with the matte grey. It is Tamiya Airplane Grey out of a shaker can. I felt that a race car needed a touch of color, so I went with gloss red for the bar work. When I added mud flaps, I carried the red down to the underside of the car too. There is also a touch of red around the front headlights.

A race car team needs sponsors. The decals are leftovers from a 1:24 scale car build from many years ago. I hung onto the decals in hopes of being able to use them some day. For 1:24 scale, these decals are minor sponsors around the wheel arches. On the 1:64 scale, they are major sponsors.

With the car painted, decaled and cleared with matte clear, it was time for assembly. I glued the bars in place, as well as the snorkel. I added the spare tire, a white box, and a roll of fabric.

In all I am very happy with this car. It has really got my creative juices flowing for this small-scale building, and I am looking forward to more projects like this in the future.


2017 Ranger Rescue 5-Pack (Matchbox)

This 5-Pack called Ranger Rescue is a new set for Matchbox. This is a team sent in on rescue missions on behalf of the National Parks services.

The first model is the 4 Wheeler. This is only the 7th time it has been released since it’s introduction in 1999. The first 5 version all had a rider. The rider was removed for the 2013 version and has remained off. This is a solid casting with a metal body and plastic top. Much like the 1:1 version would be.

Next up is the Water Hauler. This one has also seen limited release, but it is a much newer casting, coming out for the first time in 2012.

The 4×4 Chevy Blazer has been a fan favorite since the initial release back in 1984. The mold still holds up so well. The lines are so nice and crisp. You can’t beat the big wheels tucked under this guy. This is the non-aerial antenna version. I do love the giant antenna that we have seen in many versions of this truck.

When the time comes for a water rescue, call on the Rapids Rescue. This is only the fourth time we have seen this truck in it’s short few years of existence. I don’t know why they decided to go with a different color on this truck. It does not fit in with the rest of the team, though it does have all of the correct markings.

The Pony Trailer is an updated version of the original that saw life back in 1968. It only showed up a few times over the years. Matchbox has had a long history of great trailers, but we don’t get to see them all that often. This new version does not have an opening back, but the details are fantastic.

The big excitement for this wave is getting a trailer for the Blazer. Well, as you can see, the Blazer’s trailer hitch sits WAY too high for the trailer. So some modifications have to be made for this all to work together.

I decided I wanted to make a trailer hitch that would be able to be added to the model without having to make it a permanent part of the truck. I want to be able to move the hitch to another Blazer if need be. I used about 20 different pieces of styrene plastic cut to shape and glued.

I test fit the pieces many times as I worked through the process. I needed the hitch to sit straight, look fairly realistic, and be able to actually work, as in allow the trailer to be towed by the truck when driving it around.

When all of the work was done, I painted the hitch a matte black and added some trailer chains. Now the Rangers are ready to grab the horses and head out on their mission.

This was a fun build to do. It only took a few hours, but really upped the function of both vehicles. Now this set really makes me happy.


Matchbox – Ford F-100 Panel Delivery (1955)

This 1955 Ford F-100 Panel Delivery by Matchbox is a car well loved at my wife’s library. After storytime on Fridays, the kids get to bring out the toys. Diecast cars are always a favorite, and she says the more unique cars get the most love.

This truck showed up a few years back, went into the lost and found for a time, and then went into the box with the rest of the diecast for the kids to play with.

Yesterday a kid brought it up with the back axle split in two. My wife said, “I think my husband can fix that.” I have become known as Uncle Toy Doctor after fixing my nephew’s powered toy truck.

I have played around with diecast in the past, and I have a list of projects I want to do. Most of what I have done did not require work on the chassis. Well, this one was going to require something special.

Not only had the axle broken in half, but the wheels were fused to the axle, so if I glued them in place, the wheels would not spin, and that is a no-go when this is meant to be played with.

I had bought some brass tube to allow for new axles, but had not tried it yet. I had only read about it. Well, this was the perfect opportunity. I cut out the other axle, and drilled out the hole for the axle to accept the bigger size brass tube. I glued it into place, cut it to size, and I was half way home.

I thought it would be fun to use a pair of wheels off of a Brush Fire Truck. Unfortunately, with about a millimeter of size difference, that was all that the wheel needed to not be able to fit. Boo! Okay, on to plan 2. Find any set of wheels that fits. All of the donor cars I had laying around, I have plans for and need the wheels in tact, or they were just too big. Then I found wheels to the Hot Wheels Back Slider. This thing has a big set of dual back wheels that were smaller than usual. And that smaller size was perfect to fit in the wheel wells of this truck. And being red, it made this truck look more like a sleeper anyway. It must be a hot rod under the patina.

All glued into place, and ready to go back into service. I would love to have added it to my collection, with the perfect patina to the paint, but it is important for the kids to have the wide variety of cars to play with. Really, this project wet my appetite to really get going on one of my own projects and see what I can come up with soon.


1/64 scale diorama complete

A long time in the making. I have 2 dioramas for 6 inch figures, and one more for Transformers. What I was missing was something in the 1/64 scale range to take proper pictures of diecast cars. The work is over. Time for photo fun.

The diorama is set on two walls. The left wall is a receiving dock for a warehouse. The idea behind this was to have a place that looked industrial with lots of concrete. I made to dock wide enough for a standard 1/64 scale vehicle for when a chase scene happens. I added a fence in the front for some texture to the pictures.

The back wall is a large block wall. It is intentionally a different material than the warehouse wall so the two buildings look like they are together but not the same building. I wanted to be able to add different textures to this wall, and a different color scheme.

Down in front of the block wall is a new car dealership. There are skylights on the removable roof, as well as big front windows to display the cars. There is a concrete display in the front to show off the newest delivery. I am planning to add a sign for the dealership. I am working on a way to make the sign changeable, so I can create different looks depending on what cars are on display in the showroom.

Enjoy some behind the scenes looks of the building process, and how it all came to be, from the initial drawing all the way to the final product. There were a few changes from the initial drawing, but much of it has stayed the same.

design drawing with scale for roads.

Trying to figure out the size for the loading dock. I used pink insulation foam for the big walls.

The road was made with plaster of paris to give a used look. There is a new car dealership, but it is in an old industrial part of town.

The road is painted and the sidewalks are being made. I used pressboard for the sidewalks. It was hard to find a material that was tall enough to be a curb.

The warehouse is getting some art deco style design work to make that massive wall more interesting. I used sheets of soft art foam for the details. Once in place, it all got a coat of Modge Podge to make sure it was nice and strong.

Next up were the warehouse doors. I also added windows and a door to the far right side. The back wall has the blocks scribed into the foam.

The back wall is painted. The floor of the car dealership is cut and glued from illustration board, which is what 95% of the finished car dealership was made from. In the foreground, I carved some foam into a small rise to add some height to the scene. It does not interfere with the angles for taking pictures. Road signs have been made and added too.

The walls of the car dealership are drawn and cut to size on illustration board. From there it was adding the million details and paint to get this store ready to open.